
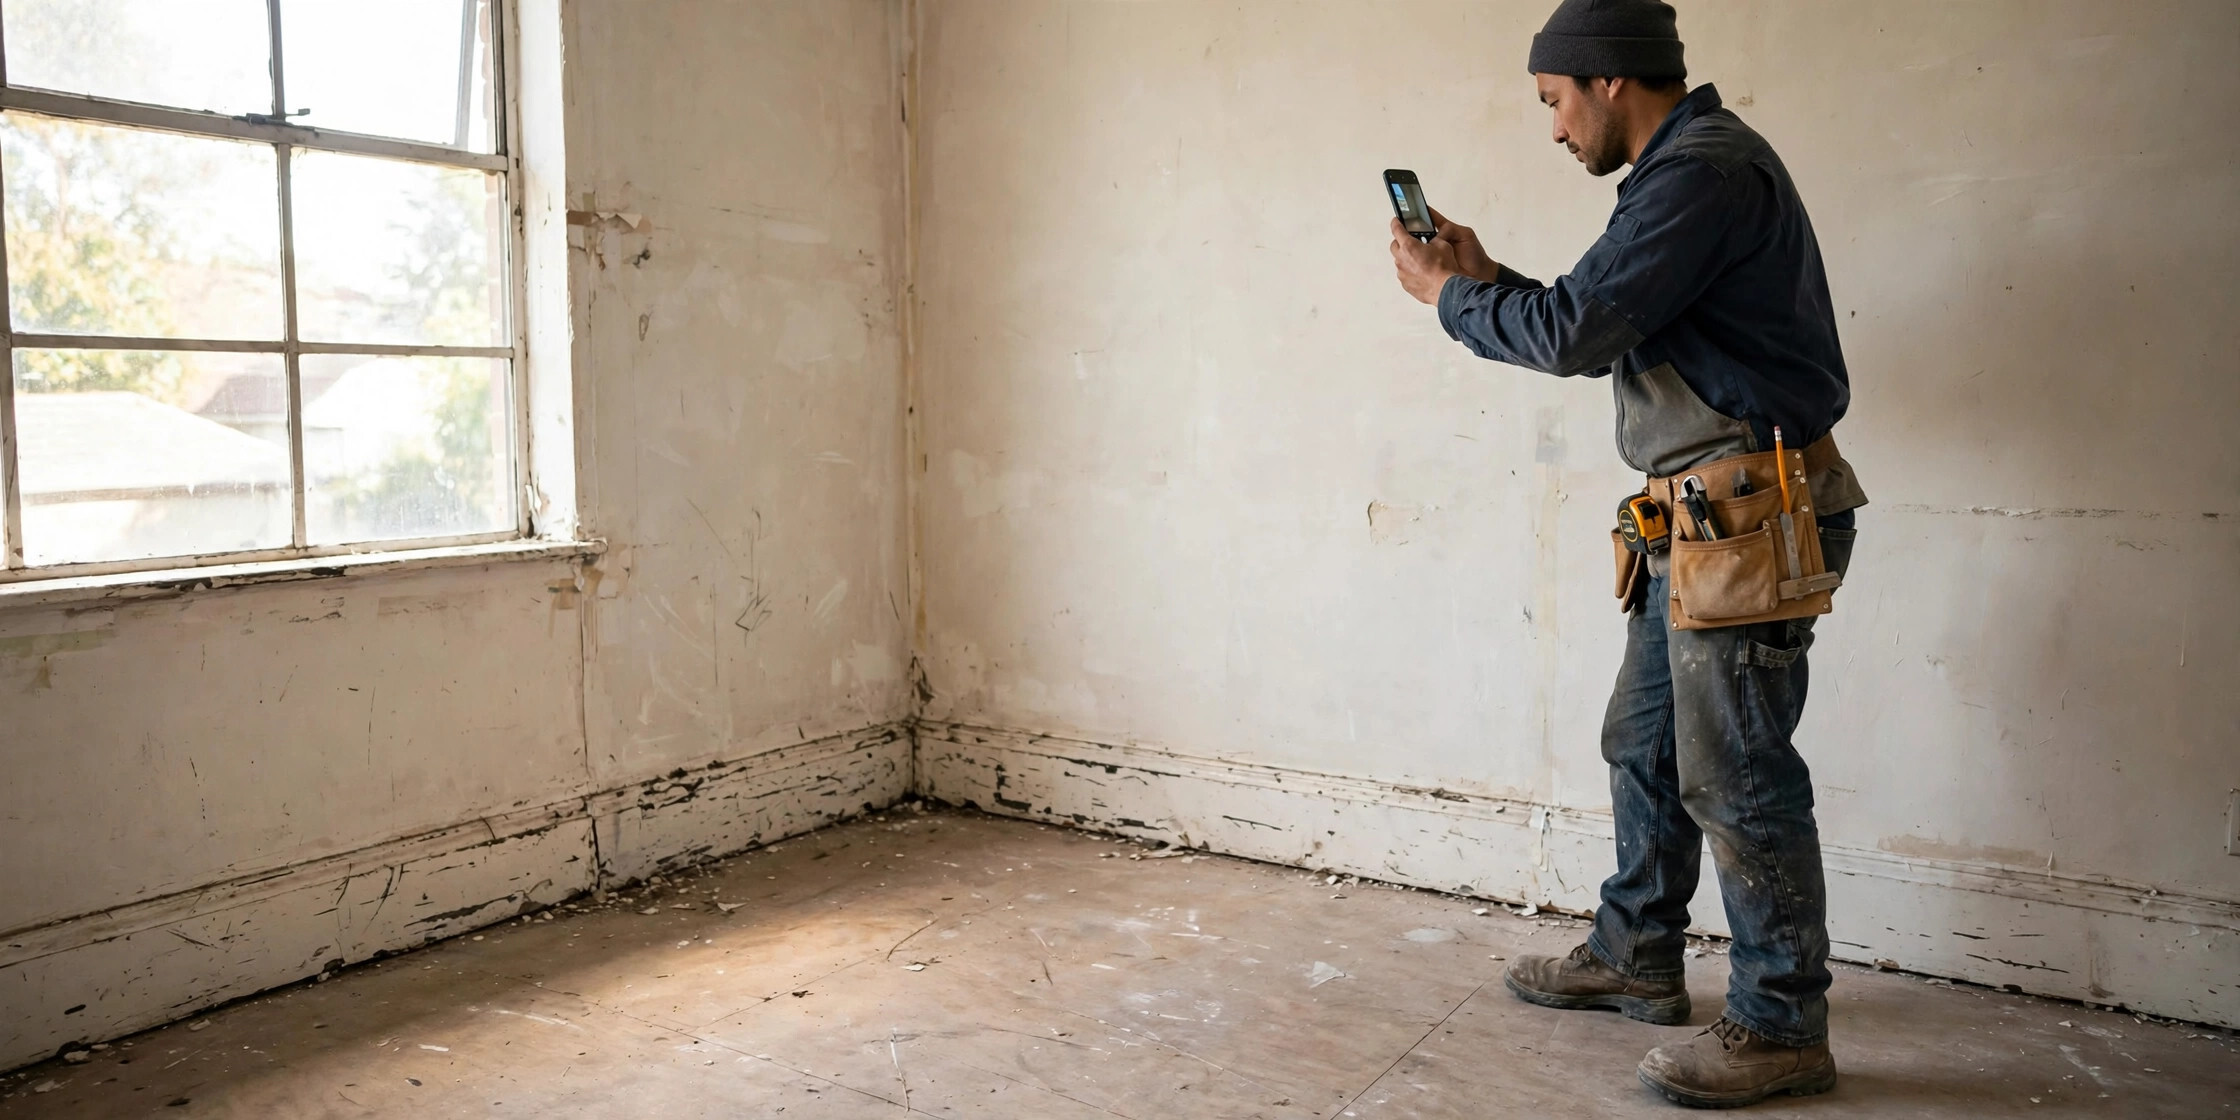
Every contractor has a version of this story. You finish the job, walk the client through it, and they stop and point: "That scratch wasn't there before." Or the crack in the driveway. Or the stain on the carpet in the hallway your crew used to carry materials.
It was there. You know it was there. But knowing it and proving it are two different things — and the difference is what decides whether that argument costs you an afternoon or a few thousand dollars.
As one rehabber put it on the BiggerPockets forums: most rehab disputes don't come down to who's right. They come down to who has dated photos.
The fix is a habit, not a gadget: a 10-minute pre-work photo walkthrough before your crew touches anything, done the same way on every job. Here's exactly what to photograph and how to do it so the photos actually protect you.
Why "before" photos are your cheapest insurance policy
Photos are financial protection, not administrative overhead. A pre-work baseline does three things for you:
- Ends "you broke it" arguments before they start. When a client claims your crew caused damage, a dated photo of that exact spot from before you arrived closes the conversation in seconds.
- Protects you from neighboring-property claims. Without pre-construction documentation, contractors struggle to show they weren't responsible for alleged damage to adjacent properties — vibration, settlement, cracked driveways next door. One walkthrough before mobilization creates the baseline.
- Proves your scope. When the final walkthrough turns into a debate about what was included, before-and-after pairs from the same angles show exactly what changed.
The key word is before. You only get one shot at the baseline, and you can't reconstruct it after work starts.
The 10-minute pre-work walkthrough
Do this after the contract is signed and before the first tool comes off the truck — even on small jobs. Small jobs generate disputes too, and ten minutes is cheap compared to one chargeback.
Walk the property in a consistent pattern (say, clockwise from the front door) so you don't skip areas. Shoot wide shots first for context, then close-ups of anything already damaged. Keep your phone's timestamp on.
Exterior and surroundings
- The full street view and every side of the building
- Driveways, walkways, patios, and concrete surfaces — photograph existing cracks
- Landscaping, fences, and vegetation near the work area
- Neighboring properties: adjacent driveways, foundations, exterior walls, and any visible prior damage — this is the category most contractors skip and later regret
- Utility markings, meters, panels, and access points (serial plates are worth a close-up)
Interior — every room in the work zone
- Each room's four walls, ceiling, and floor — wide shots first
- Hallways and paths your crew will use to carry materials, not just the work area itself (a bathroom remodel puts the hallway at risk; a kitchen update puts nearby appliances at risk)
- Baseboards, trim, countertops, cabinets, windows, and doors
- Open closets, drawers, and storage areas near the work zone and capture their condition
Close-ups of every existing flaw
This is the part that actually saves you. For every scratch, crack, stain, dent, water mark, or worn patch you can find: one close-up, plus one wider shot showing where in the room it is. A tiny mark on a hardwood floor means nothing until someone wonders whether a moving ladder caused it. Photograph it now and there's nothing to wonder about.
Staging areas, paths, and utilities
- Where materials will be staged and where the dumpster sits
- Ingress/egress routes — garage floors, side gates, mudroom entries
- Under-sink plumbing, water heater and panel with covers as-is, basement corners — the spots inspectors and insurers photograph, because that's where claims get argued
How to shoot photos that actually hold up
Random camera-roll shots are better than nothing, but a system is what makes photos usable months later:
- Wide, then close. Every flaw gets context (where is it?) and detail (what does it look like?).
- Same angles, every phase. Shoot the same positions at demo, rough-in, and completion. Before-and-after isn't for show — it's proof of scope.
- Timestamp on, always. Date and time embedded at capture is what turns a photo into evidence instead of just a picture.
- Include scale where it matters. A tape measure or even a pencil next to a crack turns "small crack" from an opinion into a measurement.
- Don't rely on text threads. Photos sent to a client in a text thread vanish the day you need them. Keep one organized set per job: Before, Progress, Final.
The timestamp problem nobody talks about
Here's the uncomfortable part: the date stamp on a phone photo isn't hard to change. EXIF data can be edited with free tools, which means a plain camera-roll photo proves less than most contractors assume.
What actually holds up is an unbroken chain: photos captured, organized, and stored in a way that shows they haven't been altered since the day they were taken. Keep your originals unedited, keep them organized per job, and if your documentation tool verifies photo integrity — Jobument, for example, fingerprints Before, Progress, and After photos with SHA-256 integrity checks so you can show they haven't been tampered with — that's a meaningfully stronger position than "trust me, my camera roll says March."
You don't need to understand the cryptography. You just need photos whose dates nobody can credibly question.
Get the client to sign off on the baseline
Photos protect you; shared photos protect you faster. After your walkthrough, do a quick review with the client — in person or by sending the set — and get a simple written acknowledgment: "Existing conditions documented and reviewed on [date]." Some contractors use a signed photo list attached to the contract; the signature matters less than the fact that the client saw the baseline before work started.
A client who has seen the pre-existing scratch in a photo is dramatically less likely to claim you made it. And if they do, you're not arguing from memory — you're both looking at the same dated picture.
How long to keep your job photos
Keep the full set — before, progress, and after — for at least as long as your warranty period, and longer if your state has extended liability windows for construction defects. Storage is cheap; re-litigating a two-year-old "that crack is new" claim without photos is not. Organize by job name and date so you can find a set in under a minute. If you can't find the photos, you don't have the photos.
Putting it together on every job
The whole system fits on an index card:
- Before mobilization: 10-minute walkthrough, wide-then-close, timestamp on.
- Same angles at every phase: before, progress, final.
- One organized set per job — not scattered across text threads.
- Client reviews the baseline; acknowledgment in writing.
- Keep everything through the warranty period.
Do that on every job and the "that wasn't there before" conversation stops being a threat. You've got the photo. It's dated. It was taken before your crew arrived. End of discussion.
This is the exact workflow Jobument was built around: capture Before, Progress, and After evidence organized per job — not lost in your camera roll — with integrity fingerprinting on every photo and a finished Jobument Report you can share with the client at final walkthrough. The free tier covers 3 full jobs, start to finished report, so you can run this whole system on your next three jobs without paying anything.
Document your next job properly — free
Jobument organizes your Before, Progress, and After photos per job, verifies they haven't been altered, and builds a professional proof-of-work report you can hand the client.
FAQ
Do I really need before-photos on small jobs?
Yes — arguably more so. Small jobs have thinner margins, so one disputed damage claim hurts more. The walkthrough takes ten minutes regardless of job size.
What if the client won't do a baseline walkthrough with me?
Do the walkthrough anyway and send them the photo set with a dated note that existing conditions were documented before work began. Documented and sent beats undocumented every time.
My phone already timestamps photos. Isn't that enough?
It's a good start, but phone timestamps live in editable EXIF data. Keep originals unedited and consider a tool that independently verifies photo integrity if you want the dates to stand up to real scrutiny.
How many photos is enough?
Enough that you could reconstruct the property's condition without visiting it. For a typical single-room remodel, that's usually 40–80 shots. It sounds like a lot until the first time a dated close-up saves you a $2,000 argument.